Replacing a Hose or Coupling: How to Do It Safely and Correctly

Replacing a Hose or Coupling: How to Do It Safely and Correctly
A leaking hose or a worn-out coupling can quickly lead to water waste, moisture damage, or pressure issues. Fortunately, in many cases, you can replace them yourself—if you do it carefully and correctly. This guide walks you through the process step by step so you can complete the job safely and avoid common mistakes.
When Should You Replace a Hose or Coupling?
Hoses and couplings wear out over time, especially when exposed to pressure, heat, or mineral buildup. You should consider replacing them if you notice:
- Drips or moisture around connections or under the sink.
- Cracks, bulges, or discoloration on the hose.
- Rust or mineral deposits on the coupling.
- Uneven water pressure or small sprays when you turn on the faucet.
It’s always better to replace a part early than to wait until a leak causes damage. A new hose or coupling is inexpensive compared to the cost of repairing water damage.
Preparation: What You’ll Need
Before you start, make sure you have the right tools and replacement parts. You’ll typically need:
- An adjustable wrench or appropriately sized open-end wrench.
- A bucket or towel to catch any remaining water.
- Plumber’s tape (Teflon tape) for sealing threaded connections, if needed.
- The new hose or coupling, matched to your fixture and pipe size.
Always check the manufacturer’s instructions—especially if you’re working with specialized fixtures or flexible hoses for dishwashers or washing machines.
Step-by-Step: How to Do It
1. Turn Off the Water
Always start by shutting off the water supply. You can do this by turning the small shutoff valves under the sink or, if necessary, the main water valve for your home. Confirm that the water is off by opening the faucet.
2. Drain Remaining Water
Place a bucket or towel under the connection to catch any water left in the hose. This helps prevent spills on the floor.
3. Remove the Old Hose or Coupling
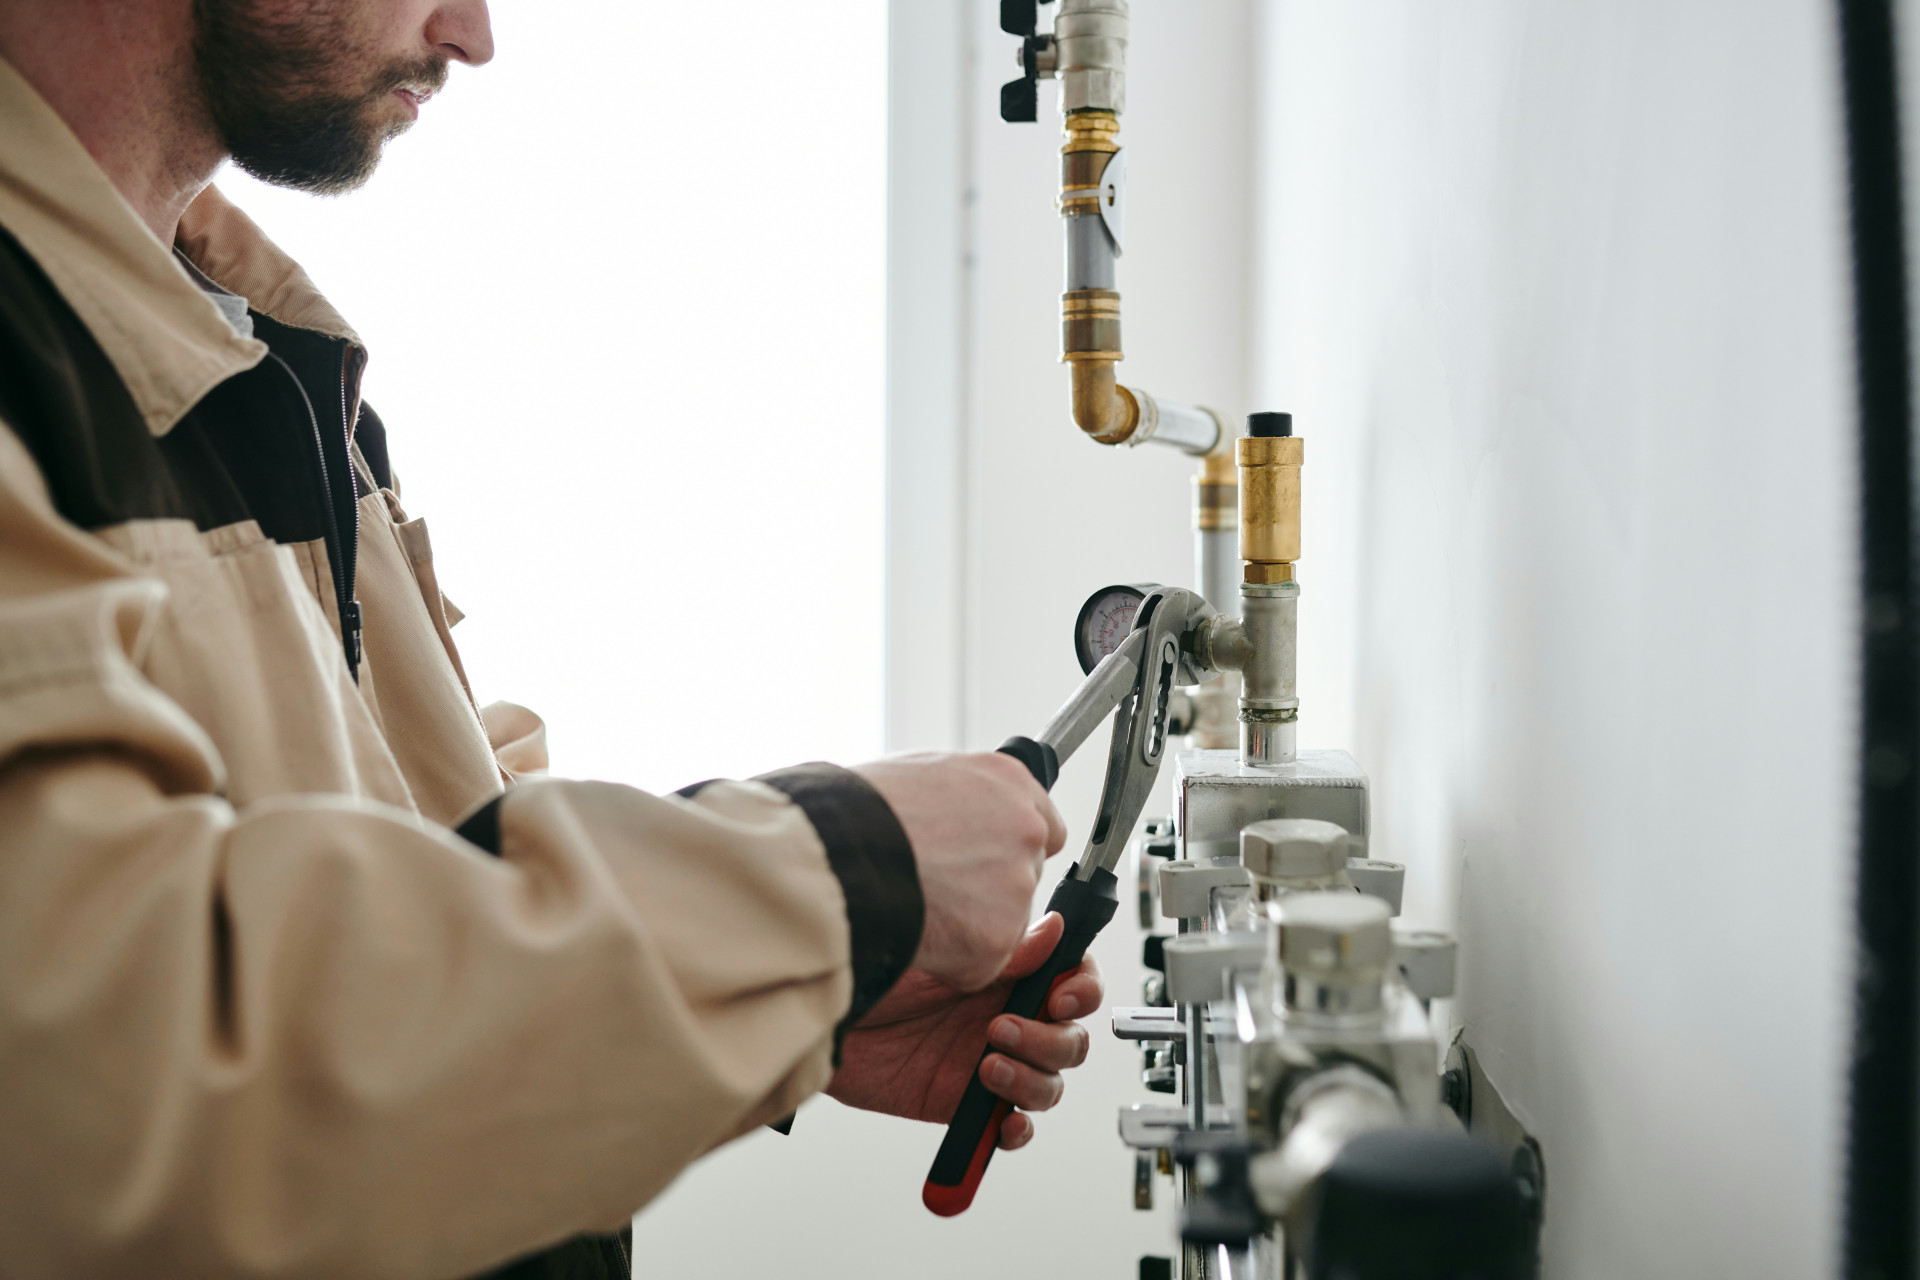
Use your wrench to gently loosen the coupling by turning it counterclockwise. Be careful not to damage the threads. If it’s stuck, try wiggling it slightly by hand once it’s loosened.
4. Clean the Threads and Seals
After removing the old part, clean the threads of any mineral buildup, dirt, or old sealing material. Use a cloth or small brush. Check any rubber washers or gaskets—replace them if they’re worn or cracked.
5. Install the New Part
Wrap the threads with a few turns of plumber’s tape if required, then screw the new hose or coupling into place. Tighten it by hand first, then use the wrench to snug it up slightly. Avoid overtightening, as this can damage the threads or fittings.
6. Turn the Water Back On and Test
Slowly turn the water back on while watching the connection. Check for drips or leaks. If you see any, tighten slightly or make sure the washer is seated properly.
Safety and Best Practices
- Use only certified parts—look for NSF or UPC markings for potable water systems.
- Avoid temporary fixes like tape or glue; they rarely hold up under pressure.
- Be mindful of temperature and pressure ratings—some hoses are designed only for cold water.
- Call a licensed plumber if you’re unsure or if the job involves permanent piping.
Even small mistakes can lead to big problems, so when in doubt, it’s safer to get professional help.
Maintenance: Keeping Your Installation in Good Shape
To prevent future issues, inspect your hoses and couplings a couple of times a year. Look for signs of wear or moisture. Clean off mineral buildup with a mild vinegar solution, and make sure nothing heavy is pressing on the hoses.
A little regular maintenance can extend the life of your plumbing and save you both time and money.
A Simple Task That Makes a Big Difference
Replacing a hose or coupling is one of the simpler plumbing tasks you can handle yourself. With the right tools, a bit of patience, and attention to safety, you can restore a leak-free, efficient setup in no time—giving you peace of mind and a more reliable home system.