How to Insulate the Attic Knee Wall in a Low-Slope Roof House

How to Insulate the Attic Knee Wall in a Low-Slope Roof House
In many older American homes—especially those with low-slope roofs—the attic knee wall can be one of the biggest sources of heat loss. This small, often overlooked space between the living area and the roof can have a major impact on your home’s comfort and energy efficiency. Fortunately, with the right approach, you can significantly improve insulation performance, even when space is tight. Here’s a practical guide to help you get started.
What Is a Knee Wall—and Why Does It Matter?
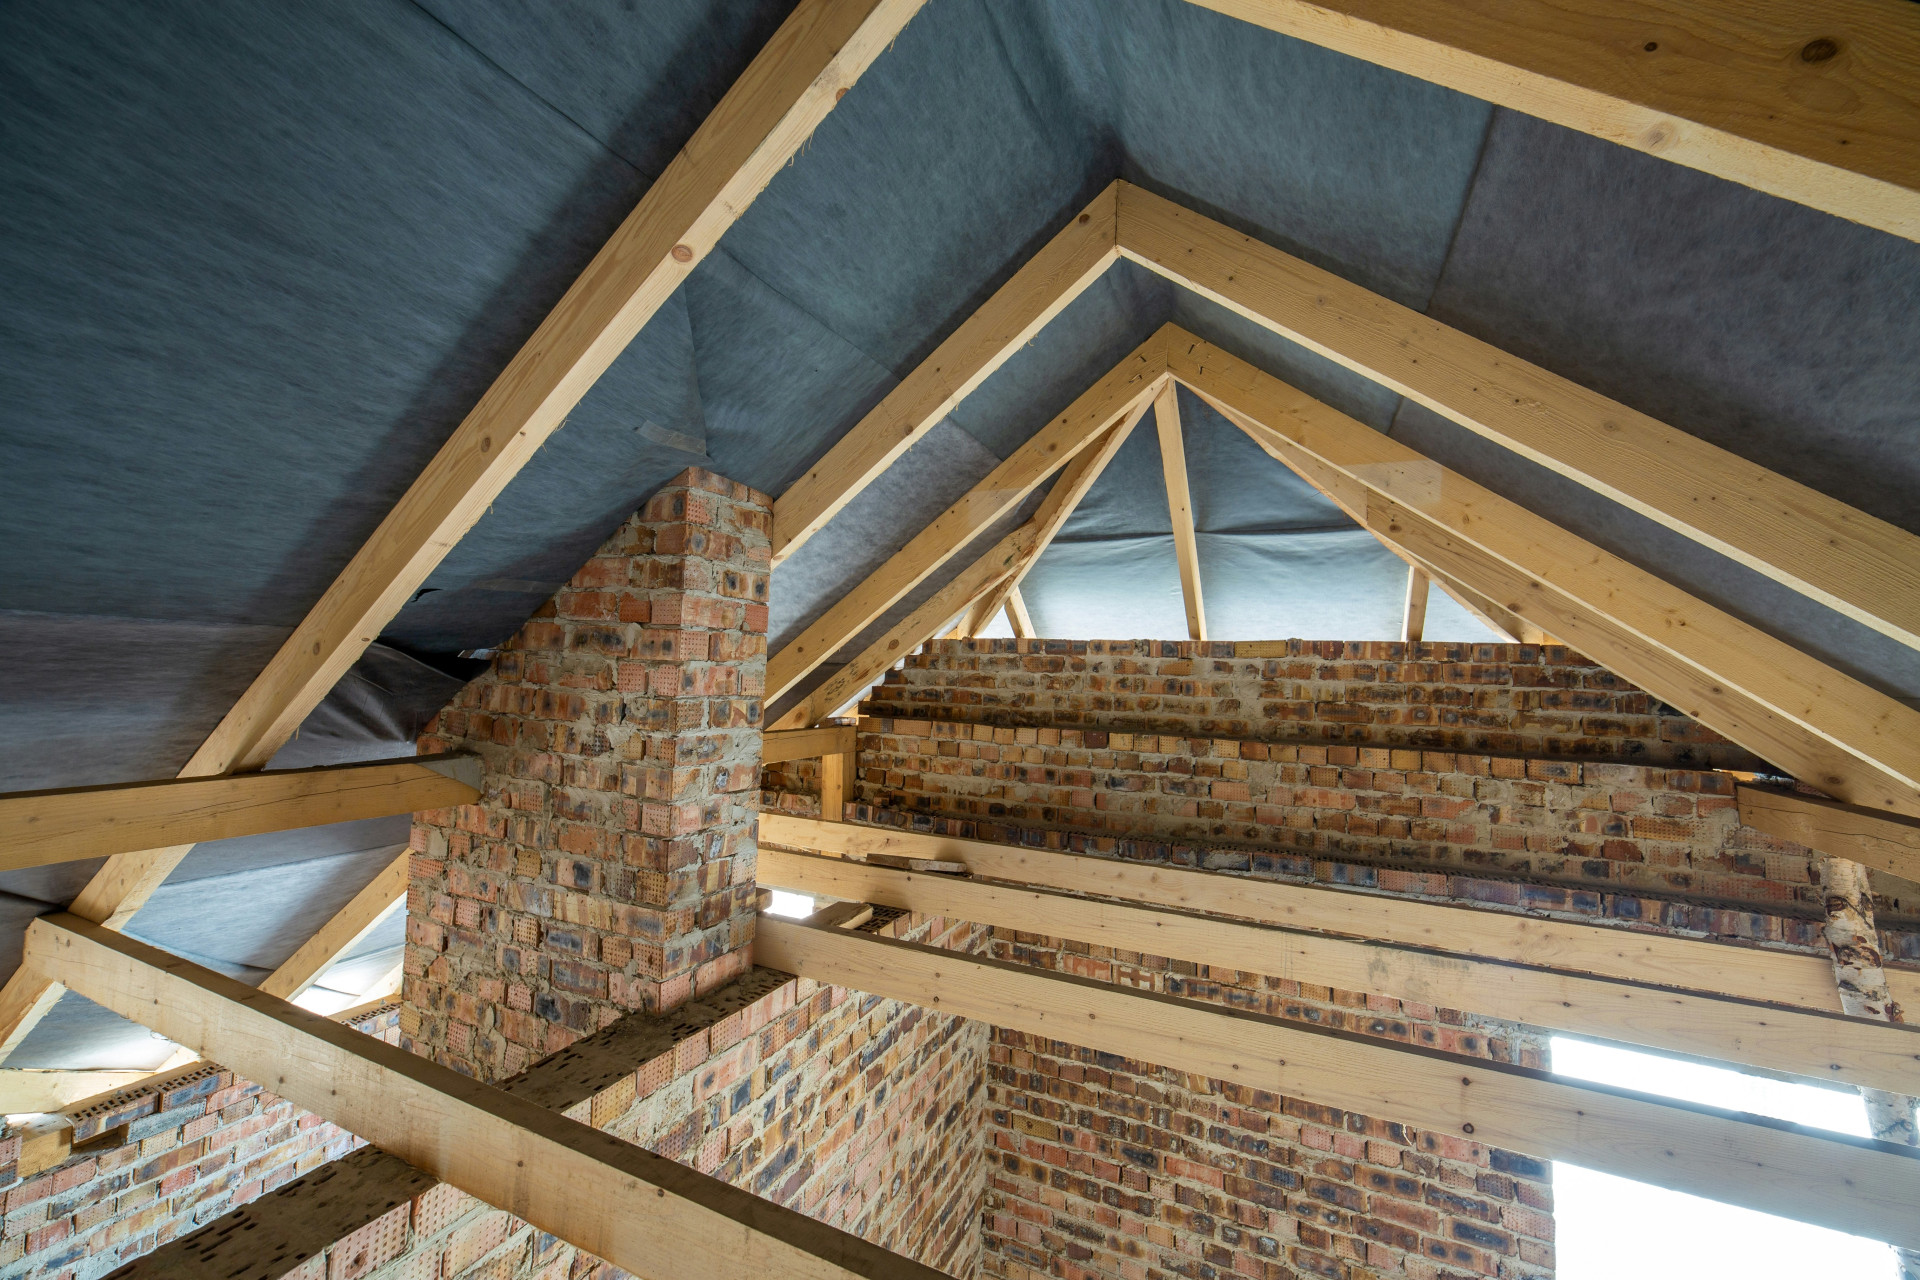
A knee wall is the short vertical wall that supports the rafters in a finished attic space. It separates the conditioned (heated or cooled) living area from the unconditioned attic space behind it. If the knee wall and the floor behind it aren’t properly insulated, warm air escapes through the roof in winter and hot air seeps in during summer. The result: higher energy bills, uncomfortable rooms, and uneven temperatures.
In homes with low-slope roofs, the challenge is limited access and headroom. That means you’ll need to plan carefully and choose materials and methods that fit the space.
Before You Begin: Inspect the Structure
Before adding insulation, take time to understand how your attic and knee wall are built. Check for:
- Existing insulation: Note the type, thickness, and condition. Old or compressed insulation may need to be replaced.
- Moisture or mold: Any signs of dampness or mold must be addressed before insulating. Otherwise, you risk trapping moisture inside the structure.
- Air leaks: Look for gaps around plumbing, wiring, and framing. Seal these with caulk or spray foam before insulating.
- Ventilation: Proper airflow is essential. Make sure soffit and ridge vents are clear so moisture can escape.
If you’re unsure about the structure or moisture conditions, consider consulting a home energy auditor or insulation contractor.
Choosing the Right Insulation Method
There are several ways to insulate a knee wall, depending on access and your renovation plans.
1. Insulating from the Attic Side
If you can access the space behind the knee wall, you can install insulation directly on the back of the wall and along the attic floor. Fiberglass or mineral wool batts are common choices. Fit the batts snugly between studs and joists, but don’t compress them—compressed insulation loses effectiveness. Cover the insulated wall with rigid foam board or an air barrier to prevent drafts.
2. Blown-In Insulation
If the space is too tight to enter, a professional can blow loose-fill insulation (such as cellulose or fiberglass) into the cavity through small holes. This method is ideal for low-slope roofs where physical access is limited. It ensures even coverage and can be completed quickly.
3. Exterior Insulation During Roof Replacement
If you’re planning a major renovation or roof replacement, consider adding rigid foam insulation above the roof deck. This approach creates a continuous thermal barrier and eliminates cold spots, though it’s more labor-intensive and costly.
Step-by-Step: How to Insulate the Knee Wall
- Clear the area of old insulation, debris, and dust.
- Seal air leaks around pipes, wiring, and framing with caulk or spray foam.
- Install a vapor retarder (if required in your climate zone) on the warm side of the insulation to prevent moisture from migrating into the wall.
- Add insulation between studs and joists. Use batts, rigid foam, or blown-in material depending on access.
- Maintain ventilation by keeping a 1–2 inch air gap between the roof sheathing and insulation. Use baffles if necessary.
- Cover the insulation with an air barrier such as rigid foam board or drywall to prevent air movement and protect the material.
Common Mistakes to Avoid
- Overpacking insulation: Compressing insulation reduces its R-value and effectiveness.
- Skipping air sealing: Even the best insulation won’t perform well if air leaks are left unsealed.
- Blocking ventilation: Never cover soffit or roof vents—moisture buildup can lead to rot and mold.
- Uneven coverage: Gaps or thin spots create cold bridges and reduce overall performance.
How Much Insulation Do You Need?
The U.S. Department of Energy recommends attic insulation levels between R-38 and R-60, depending on your climate zone. If you already have some insulation, you can add more to reach the recommended R-value. Always check local building codes for specific requirements in your area.
Benefits of a Well-Insulated Knee Wall
When your attic knee wall is properly insulated, you’ll notice immediate improvements:
- Lower heating and cooling costs
- More consistent indoor temperatures
- Reduced drafts and cold floors
- Less risk of condensation and mold
- A more durable and energy-efficient home
Insulating the knee wall is a relatively small project that can deliver big returns in comfort and savings.
When to Call a Professional
While many homeowners can handle basic insulation work, it’s wise to hire a professional if:
- The space is difficult to access
- You suspect moisture or ventilation issues
- You want blown-in or spray foam insulation
- You’re unsure about local code requirements
A qualified insulation contractor can ensure the job is done safely, efficiently, and in compliance with building standards.
A Smart Upgrade for Comfort and Efficiency
Insulating the attic knee wall in a low-slope roof house may take some planning and effort, but the payoff is worth it. You’ll enjoy a more comfortable home, lower energy bills, and a structure that’s better protected against moisture and temperature extremes. It’s one of the most effective upgrades you can make to improve both comfort and energy performance in your home.